Shimmer effect by Flutter
Hi, dear readers. Today, we will discuss another useful Widget in Flutter Animations, Shimmer Animation.
Let's create our own Shimmer Animation
- > baseColor: Base Color of the Shimmer that gets displayed on the Widget. This color is essential as the child widget will be of this color as it were.
- > highlightColor: Highlight Color is the color that delivers the shimmer-like impact. This color continues to wave across the child widget and it makes the Shimmer impact.
- > child: The Child holds whatever widget needs to create the ShimmerEffect. Could be a Text Widget or an intricate design and the ShimmerEffect is created with no issue.
- > direction: You can adjust the direction of the shimmer highlight color from left to right, right to left, start to finish, or base to top, to do so you simply need to pass ShimmerDirection with a determined direction.
- > period: It controls the speed of the shimmer effect. The default value is 1500 milliseconds.
List<MovieClass> allMovies =[
MovieClass(
imageUrl:'https://gumlet.assettype.com/bloombergquint%2F2019-04%2F4c894d41-181f-4c8c-8630-4604a6d51d05%2Favengers_infinity_war_and_endgame_poster_w7_1600x900.jpg?rect=0%2C0%2C1250%2C900&auto=format%2Ccompress&w=480&dpr=2.6',
title:'Avengers: Endgame',
description:'It s a 2019 American superhero film based '
),
MovieClass(
imageUrl:'https://townsquare.media/site/442/files/2014/08/The-Expendables.jpg?w=980&q=75',
title:'The Expendables 3',
description:'The Expendables 3 is a 2014 American action '
),
MovieClass(
imageUrl:'https://img.etimg.com/thumb/msid-71454408,width-650,imgsize-242226,,resizemode-4,quality-100/war-1.jpg',
title:'War',
description:'War is a 2019 Indian Hindi-language action '
),
MovieClass(
imageUrl:'https://iadsb.tmgrup.com.tr/de9f7e/1200/627/0/0/1000/522?u=https://idsb.tmgrup.com.tr/2019/12/22/1577016105167.jpg',
title:'Jumanji: The Next Level',
description:'Jumanji: The Next Level is a 2019 American '
),
MovieClass(
imageUrl:'https://evertise.net/wp-content/uploads/2021/06/image-366.png',
title:'Fast & Furious 9',
description:'Dom Toretto`s peaceful life off the grid.'
)];
import 'package:shimmer/shimmer.dart';
class CustomWidget extends StatelessWidget {
final double width;
final double height;
final ShapeBorder shapeBorder;
const CustomWidget.rectangular({
this.width = double.infinity,
required this.height
}): this.shapeBorder = const RoundedRectangleBorder();
const CustomWidget.circular({
this.width = double.infinity,
required this.height,
this.shapeBorder = const CircleBorder()
});
@override
Widget build(BuildContext context) => Shimmer.fromColors(
baseColor: Colors.red,
highlightColor: Colors.grey[300]!,
period: Duration(seconds: 2),
child: Container(
width: width,
height: height,
decoration: ShapeDecoration(
color: Colors.grey[400]!,
shape: shapeBorder,
),
),
);
}
| Create a new dart file called
my_home_page.dartinside thelibfolder.
First, we will create a List <MovieModel> movies is equal to bracket and bool isLoading is equal to false,
List<MovieModel> movies = [];
bool isLoading = false;
We will create an initState() method. In this method, we will add the loadData() method.
@override
void initState() {
  // TODO: implement initState
  super.initState();

  loadData();
}
We will define loadData() method.
We will create a Future loadData() method. In this method, we will add setState() function. In this function, we will add isLoading is equal to true. Add an await future delay duration for loading and movies is equal to the list of (allMovies). Again, we will add setState() function. In this function, we will add isLoading is equal to false.
Future loadData() async {
  setState(() {
    isLoading = true;
  });
  await Future.delayed(Duration(seconds: 2));
  movies = List.of(allMovies);
  setState(() {
    isLoading = false;
  });
}
We will create a buildMovieList(). In this method, we will add ListTile() widget. In this widget, we will add leading. In this leading, we will create CircleAvatar with a radius is 30 and add backgroundImage as NetworkImage from MovieModel. Add a title, subtitle from the MovieModel list.
Widget buildMovieList(MovieModel model) =>
    ListTile(
      leading: CircleAvatar(
        radius: 30,
        backgroundImage: NetworkImage(model.urlImg),
      ),
      title: Text(model.title, style: TextStyle(fontSize: 16),),
      subtitle: Text(
        model.detail, style: TextStyle(fontSize: 14), maxLines: 1,),
    )
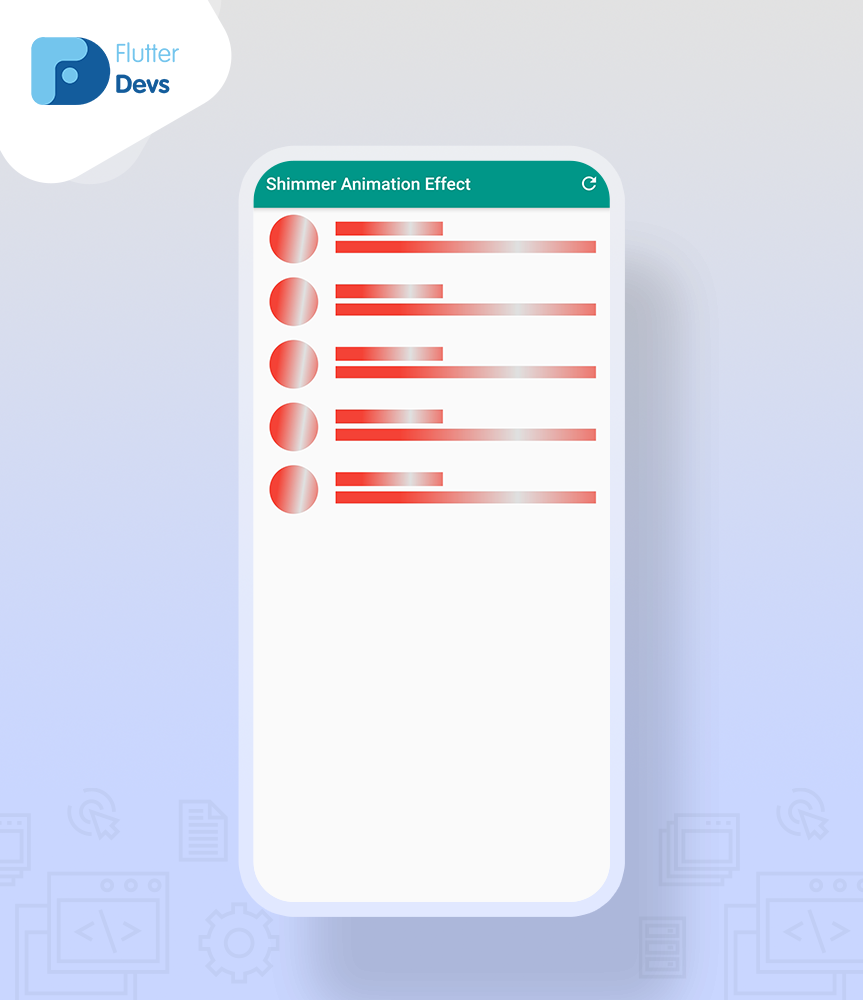
We will create one more widget that was buildMovieShimmer(). In this method, we will add ListTile() widget. In this widget, we will add leading, title, subtitle from CustomWidget().
Widget buildMovieShimmer() =>
    ListTile(
      leading: CustomWidget.circular(height: 64, width: 64),
      title: Align(
        alignment: Alignment.centerLeft,
        child: CustomWidget.rectangular(height: 16,
          width: MediaQuery.of(context).size.width*0.3,),
      ),
      subtitle: CustomWidget.rectangular(height: 14),
    );
In the body part, we will add ListView.builder(). Inside, add itemCount and itemBuilder. In itemBuilder, we will add condition if isLoading then return buildMovieShimmer() widget else we will return final movie is equal to the movies[index] and return buildMovieList (movie);
ListView.builder(
    itemCount: isLoading? 5: movies.length,
    itemBuilder: (context, index) {
      if (isLoading) {
        return buildMovieShimmer();
      } else {
        final movie = movies[index];
        return buildMovieList(movie);
      }
    }
),
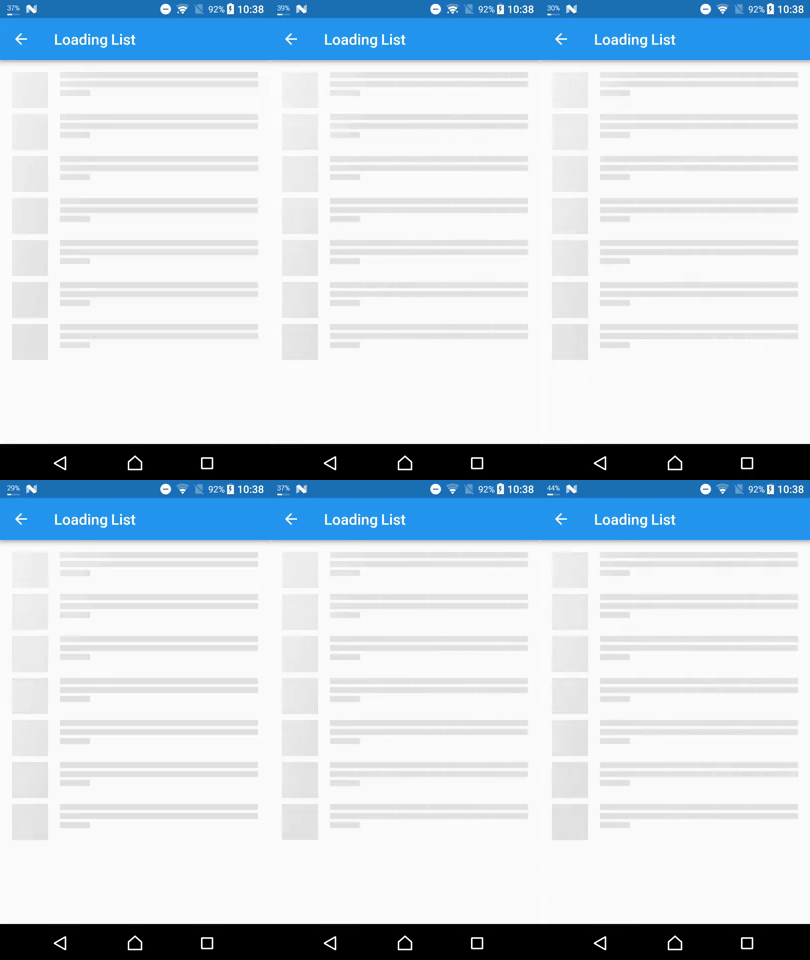
When we run the code, first will show a shimmer effect when the data was loaded, we ought to get the screen’s output like the underneath screen capture.
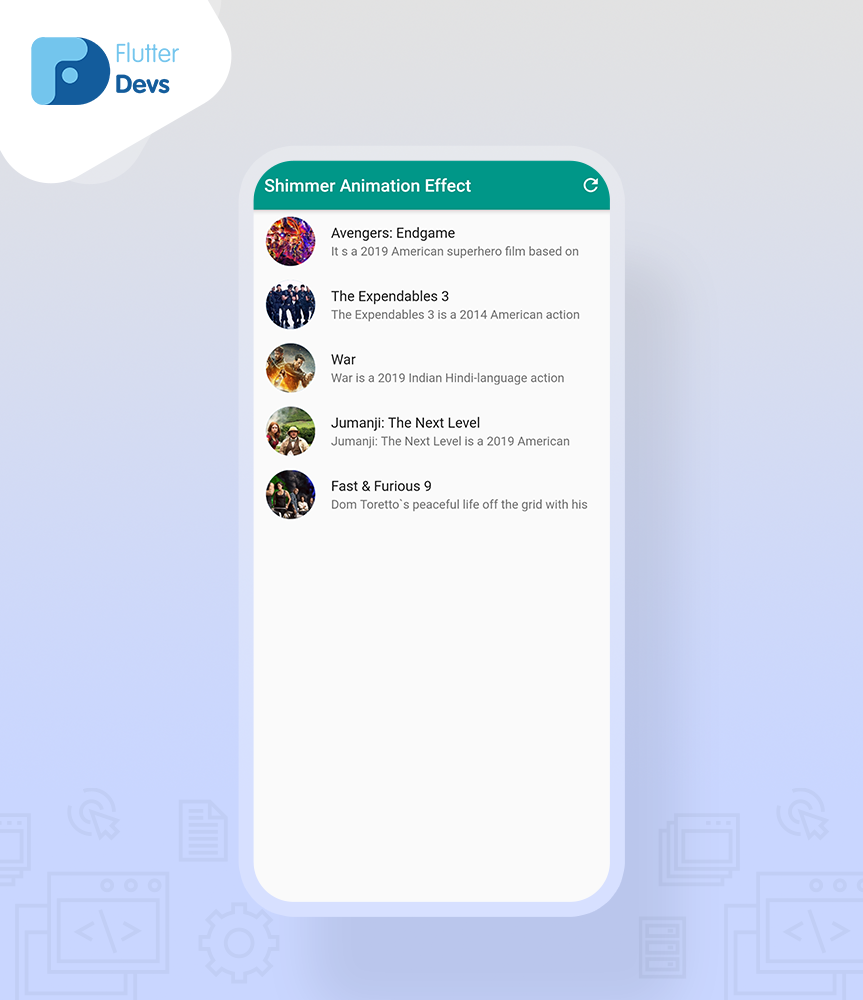
When data successfully load, then shimmer was stopped and all data will show on your screen. We will also add a refresh button on an appBar() for the shimmer effect.
actions: [
  IconButton(
      icon: Icon(Icons.refresh),
      onPressed: loadData)
],
When we run the application, we ought to get the screen’s output like the underneath screen capture.


Комментарии
Отправить комментарий